1. fluentd基础配置
fluentd的主体是由C++语言开发的,而扩展功能都是由Ruby语言开发的。我们把这些功能都叫做插件。插件可以扩展fluentd的功能,从数据源到过滤器都可以扩展,比如让fluentd支持某些特定的数据库,让fluentd按照某些特定的方式来格式化数据。
1.1. 配置文件组成
我们先来看一下一个基础的配置文件,一般来说,由两个个部分组成,比如
<source>
  @type tail
  path /var/log/containerd/log.json
</source>

<match **>
  @type stdout
</match>
这个配置文件是说,数据从source进,输出到match部分,@type是数据源的类型,输入数据源放在
在整个数据流中,我们可以在输入和输出结构之间加入
<source>
  @type tail
  path /var/log/containerd/log.json
</source>

<filter **>
  @type grep
  <regexp>
    key message
    pattern /cool/
  </regexp>
</filter>

<match **>
  @type stdout
</match>
这个配置文件中的filter是使用grep模块,把message带cool的记录输出出来。
我们对于全局的配置是放在
<system>
  log_level info
</system>

<source>
  @type tail
  path /var/log/containerd/log.json
</source>

<filter **>
  @type grep
  <regexp>
    key message
    pattern /cool/
  </regexp>
</filter>

<match **>
  @type stdout
</match>
这个配置log_level是说日志的级别,一般都是info,我们也可以改成debug来看看到底有什么问题
1.2. 代码段
我们看到,整个的配置文件是由多个代码段组成的,代码段由尖括号包起来的部分开始,到尖括号包起来的,带/的关键字结束,比如
<filter **>
  @type grep
  <regexp>
    key message
    pattern /cool/
  </regexp>
</filter>
每个功能都会被抽象成一个代码块,对于官方提供的代码块,我们可以在官方文档找到,比如grep
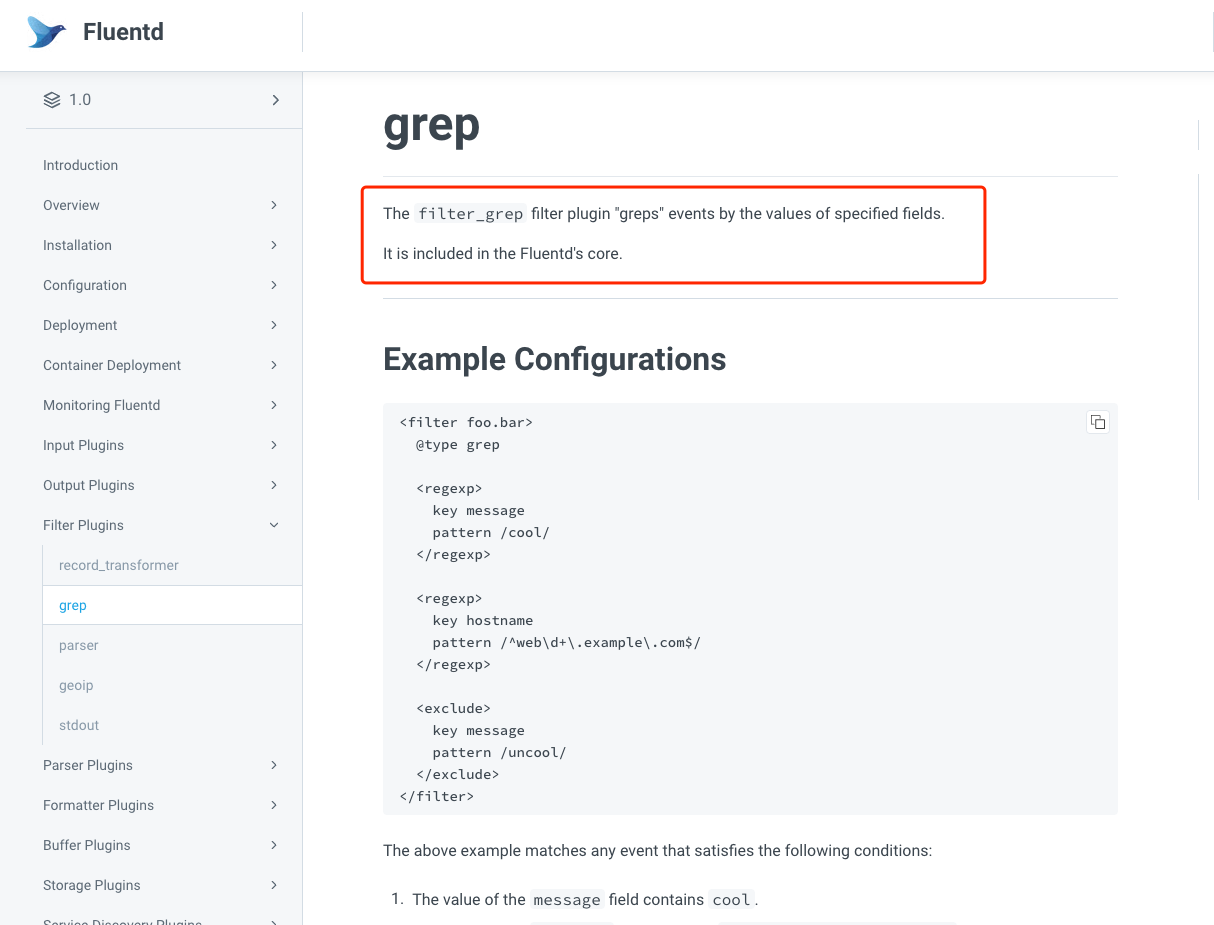
文档开始都会说一下这个模块可以用在哪里,grep模块就是用在filter中的,然后下面是一些例子
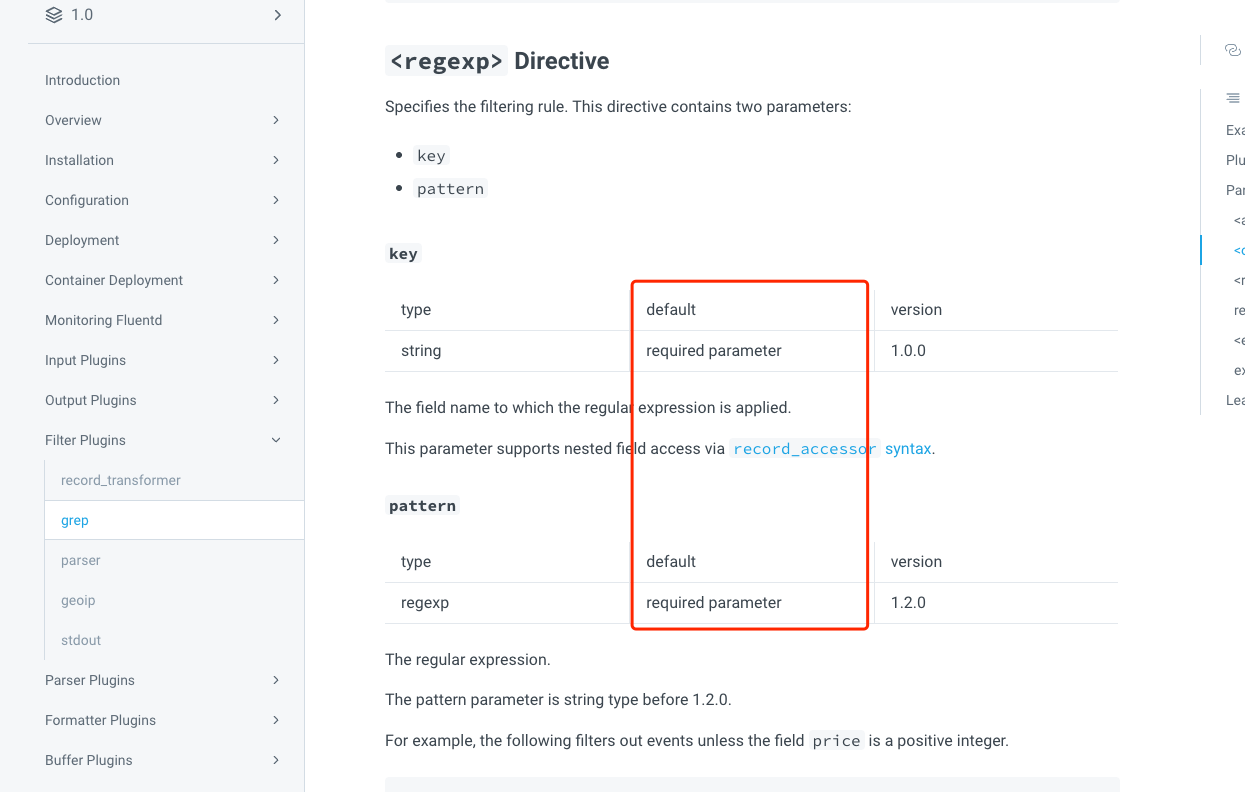
最后会有对于每个配置的详细说明,比如:是不是必须的
2. 插件
官方文档对于插件分类主要有input,output,filter,而在这三种代码块中可以嵌入parser,formater,buffer,storage,service discovery,metrics等。而最主要的就是parser,formater,buffer三种。
2.1. 管理插件
管理插件需要登录到fluentd所在的服务器上,使用gem来安装,gem是ruby语言的包管理器,有点类似于yum或者pip。我们一般可以在安装fluentd的过程中找到他。比如,如果使用的是yum安装,我们就可以在安装的文件中找到他。
# 在安装完td-agent之后,可以使用下面的命令查询到底安装了什么东西
rpm -ql td-agent
# 就可以找到两个执行文件
/usr/sbin/td-agent
/usr/sbin/td-agent-gem
一般来说/usr/sbin是我们默认的$PATH,我们就可以直接使用td-agent-gem了
# td-agent-gem
RubyGems is a sophisticated package manager for Ruby.  This is a
basic help message containing pointers to more information.

  Usage:
    gem -h/--help
    gem -v/--version
    gem command [arguments...] [options...]

  Examples:
    gem install rake
    gem list --local
    gem build package.gemspec
    gem help install

  Further help:
    gem help commands            list all 'gem' commands
    gem help examples            show some examples of usage
    gem help gem_dependencies    gem dependencies file guide
    gem help platforms           gem platforms guide
    gem help <COMMAND>           show help on COMMAND
                                   (e.g. 'gem help install')
    gem server                   present a web page at
                                 http://localhost:8808/
                                 with info about installed gems
  Further information:
    https://guides.rubygems.org
我们常用的有
-
安装(由于插件的版本之间有差异,建议大家在安装的时候指定版本,后面我们就会遇到这种情况)
$ td-agent-gem install xxx -v 1.15 -
列出插件
$ td-agent-gem list *** LOCAL GEMS *** addressable (2.8.1) async (1.30.3) async-http (0.56.6) async-io (1.33.0) async-pool (0.3.11) aws-eventstream (1.2.0) aws-partitions (1.609.0) aws-sdk-core (3.131.3) aws-sdk-kms (1.58.0) -
删除插件
td-agent-gem uninstall xxx
2.2. 数据源插件
数据源插件是指input和output插件,这类基本是和我们数据的输入和输出有关,由于fluentd的插件都是ruby开发的,所以对于兼容性上有一个潜规则,那就是需要ruby可以支持这类的数据源。如果我们遇到一些比较古老的数据源,fluentd本身不支持,我们可以使用比较旧的fluentd来试一试。
官方提供的插件只包含了比较比较常用的插件,比如tail,elasticsearch插件,官方在首页中也记录了一些插件。
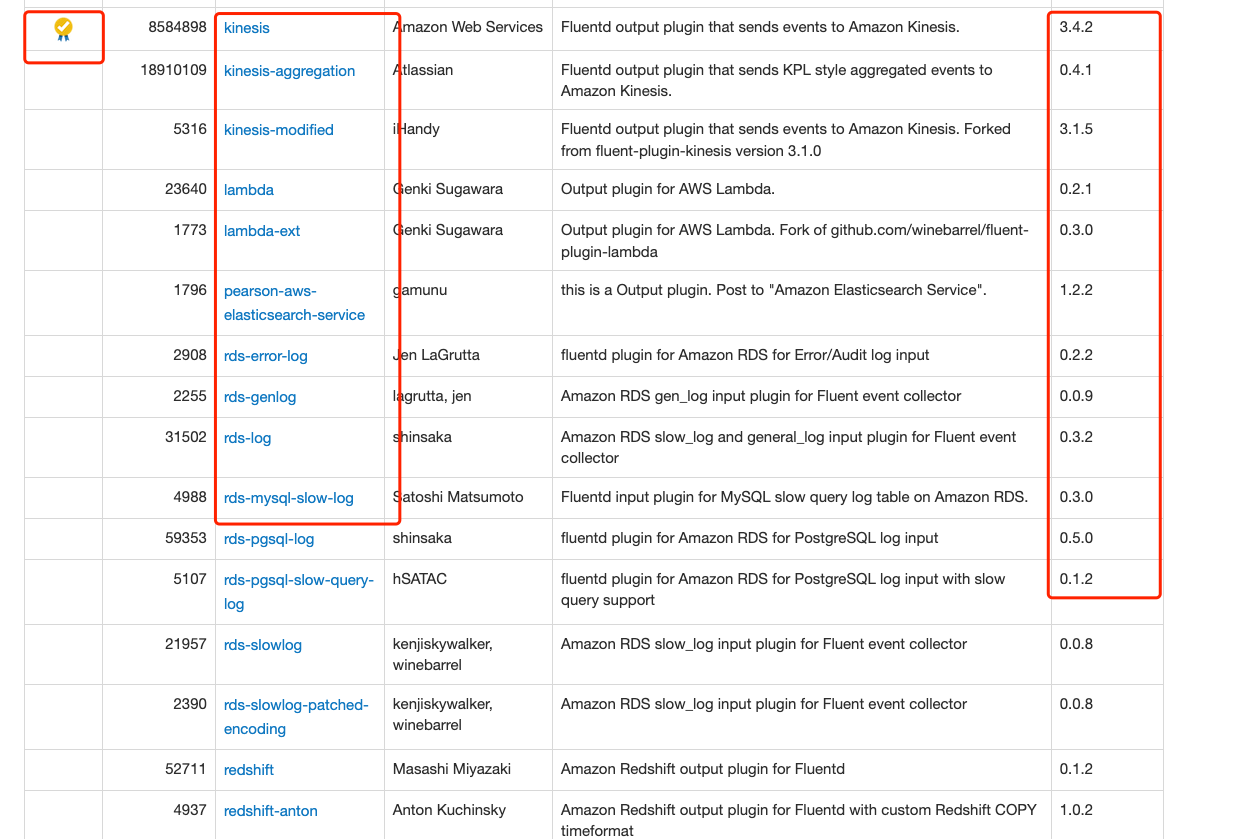
如果这个插件前面带黄色奖牌标志,这个就是官方认可的,比较靠谱的,或者直接收录在默认安装插件中的。我们可以直接点击名字,就可以跳转到github上,一般来说,都会在项目根目录的Readme文件中写明应该怎样使用。
后面的版本可以看出来,很多的插件都是社区自己改过的,版本连1.0都不到,而且很有可能已经不在维护了,还有的连readme都没有,这类的,我们一定要慎重使用。当然,有的readme文档是以代码注释的方式写在了文件中。
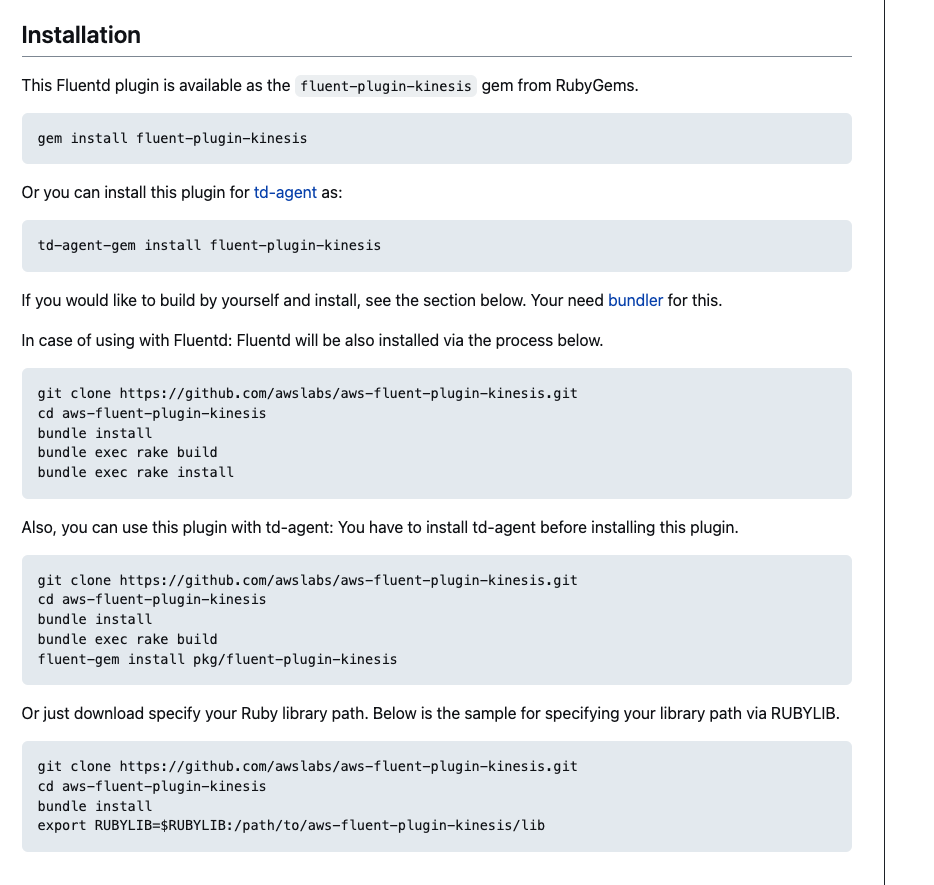
一般来说,插件的主要逻辑都会以.rb文件结尾,有一些ruby基础的同学可以直接去看源码,或者直接开发一个自己的逻辑
2.3. 格式化插件
这类插件包括filter,parser,formater。filter是独立存在的,而parse和formater是嵌套在filter,input或者output里面的。而针对不同的数据,我们会给数据打tag,tag是用来区分数据内容的标志。我们来看下面的例子
原始数据是这样的
192.168.0.1 - - [28/Feb/2013:12:00:00 +0900] "GET / HTTP/1.1" 200 777
机器1上,我们要通过in_tail插件读取文件,并且发送到机器2的fluentd上,并且输出到stdout上。输出的格式是这样的
tag: test.cycle         # set by configuration
time: 1362020400.000000000 # 28/Feb/2013:12:00:00 +0900
record: {"user":"-","method":"GET","code":200,"size":777,"host":"192.168.0.1","path":"/"}
注意:所有的输出都应该像上面一样,有三个基本的属性,tag,time和record。
机器2上面,我们通过fluentd来接受发来的日志。
<source>
  @type http
  port 8888
  bind 0.0.0.0
</source>

<filter test.cycle>
  @type grep
  <exclude>
    key action
    pattern ^logout$
  </exclude>
</filter>

<match test.cycle>
  @type stdout
</match>
可见,如果tag为test.cycle,就会被输出。假设我们有机器3,机器3向机器2发送日志,如果日志的tag不为apache.access,就不会被输出。数据流向如下:

2.4. 数据流
数据流是通过在配置文件中通过@label的方式来对同一个文件中,不同的数据流向进行区分的。我们对上面的代码进行改造如下
<source>
  @type http
  bind 0.0.0.0
  port 8888
  @label @STAGING
</source>

<filter test.cycle>
  @type grep
  <exclude>
    key action
    pattern ^login$
  </exclude>
</filter>

<label @STAGING>
  <filter test.cycle>
    @type grep
    <exclude>
      key action
      pattern ^logout$
    </exclude>
  </filter>

  <match test.cycle>
    @type stdout
  </match>
</label>
他的数据流向如下

2.5. Label和Tag
两者都有打标签的意思,但是Label主要是用来给配置文件来表示数据走向的。而Tag是在数据传输过来的时候就具备的一个key-value。比如我们刚才看到的数据格式是这样的
tag: test.cycle         # set by configuration
time: 1362020400.000000000 # 28/Feb/2013:12:00:00 +0900
record: {"user":"-","method":"GET","code":200,"size":777,"host":"192.168.0.1","path":"/"}
这条数据在数据传送过来的时候就已经具备tag了,是上一个程序在输出的时候打上去的。而label是在配置文件中控制数据的流向,比如
<source>
  @type http
  bind 0.0.0.0
  port 8888
  @label @STAGING
</source>

<filter test.cycle>
  @type grep
  <exclude>
    key action
    pattern ^login$
  </exclude>
</filter>

<label @STAGING>
  <filter test.cycle>
    @type grep
    <exclude>
      key action
      pattern ^logout$
    </exclude>
  </filter>

  <match test.cycle>
    @type stdout
  </match>
</label>
数据在进来时候的时候就被指定了label,如果这个时候我们再增加一个分支,比如: tag为test.cycle的打上label @test,tag为staging.cycle的打上@staging,最后在引用的时候分别把他们输出到不同的地方。但是要注意,这个时候就不能使用filter了,filter会把不符合要求的数据直接丢掉,不会进入下一个filter,我们需要用到数据复制,然后分别打label,我们后面还会说到这个功能。
2.6. 其他插件
我们可以在文档中看到Buffer,Extract,Inject,Transport和Storage插件
- Buffer:比较常用,用来缓存数据的,可以缓存在内存,在硬盘,在文件或者在redis这种第三方
- Extract:转换数据,比如把tag换掉
- Inject:为数据注入内容,在record中增加一个或者多个kv
- transport:为数据传输指定协议和证书位置
- storage:官方只有local一种
所以最常用的还是buffer这个,因为数据在传输过程中难免会出现断线重连,或者意外宕机,回复之后需要把没传送出去的日志继续传送的场景,所以生产级别的系统还是需要配置的。
3. 其他功能
3.1. 集群
我们可以在官方文档中找到Service Discovery插件,这个就是用来组成集群的,但是他比较局限,只能用在forward上。

# TCP input
<source>
  @type forward
  port 24224
</source>

# HTTP input
<source>
  @type http
  port 8888
</source>

# Log Forwarding
<match mytag.**>
  @type forward

  # primary host
  <server>
    host 192.168.0.1
    port 24224
  </server>
  # use secondary host
  <server>
    host 192.168.0.2
    port 24224
    standby
  </server>

  # use longer flush_interval to reduce CPU usage.
  # note that this is a trade-off against latency.
  <buffer>
    flush_interval 60s
  </buffer>
</match>
如果有其他场景,就需要output自己支持集群,比如ES,我们可以把es的多个节点都写上。
hosts host1:port1,host2:port2,host3:port3
3.2. Metric
fluentd自己是可以暴露metrics的,我们可以直接安装插件fluent-gem install fluent-plugin-prometheus,然后配置他来暴露fluentd的metrics
<source>
  @type prometheus
  bind 0.0.0.0
  port 24231
  metrics_path /metrics
</source>
或者暴露filter的metrics
# source
<source>
  @type forward
  bind 0.0.0.0
  port 24224
</source>

# count the number of incoming records per tag
<filter company.*>
  @type prometheus
  <metric>
    name fluentd_input_status_num_records_total
    type counter
    desc The total number of incoming records
    <labels>
      tag ${tag}
      hostname ${hostname}
    </labels>
  </metric>
</filter>
3.3. 多核并行
如果我们的环境是多核的,我们可以指定多个核心来同时运行,比如
<system>
  workers 4
</system>

<source>
  @type forward
  port 24224 # 4 workers accept events on this port
</source>
3.4. Ruby
如果我们在做数据转换的时候,业务场景比较复杂,我们也可以直接调用Ruby来对数据进行处理,比如
<filter syslog.local7**>
  @type record_transformer
  enable_ruby
  <record>
    raw_message ${record.to_s.gsub(',', '-')}
  </record>
</filter>